While do-it-yourself projects can be fun and fulfilling, there is always a potential for personal injury or property damage. We strongly suggest that any project beyond your abilities be left to licensed professionals such as electricians, plumbers, and carpenters. Any action you take upon the information on this website is strictly at your own risk, and we assume no responsibility or liability for the contents of this article.
String Trimmer Maintenance

Without a reliable string trimmer, it’s hard to keep the edges of a lawn neat and maintained. Lawnmowers have a hard time cutting right to the edges of landscaping features like paths and flower beds without doing damage. That’s where the string trimmer comes in. Yet this handy yard tool can only perform as expected with maintenance performed at least once a year. Tuning the trimmer up right before using it for the first time is generally the easiest practice to remember. Here’s what to do with a string trimmer that hasn’t been used since last fall.
Choose a Good Working Space

The string trimmer needs to stay level and preferably up and off the ground for easy maintenance. A workbench, two sawhorses, or even just a folding card table can serve as a helping working space. If necessary, you can work on the string trimmer on the ground, but the level ground is still needed. A block or box will also be necessary to help level the trimmer out so that the head and engine are even. Put down a drop cloth or painter’s plastic to ensure there aren’t any drips or spills while working on the equipment. Even if you’re servicing an electric string trimmer, a drop cloth will catch the debris you clean off the trimming head.
Replace the Trimming Line

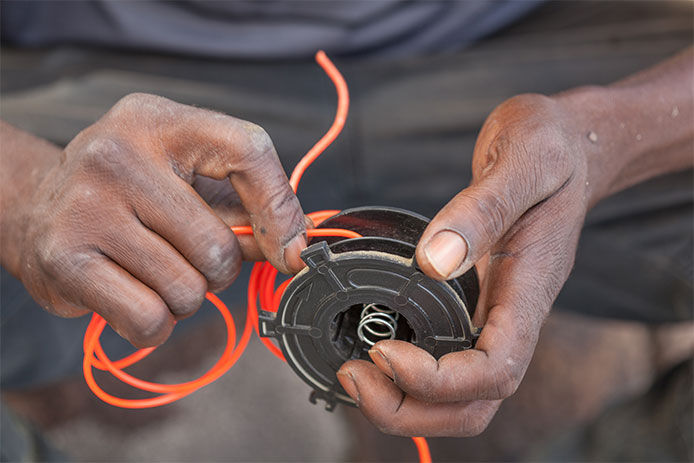
It’s best to replace the trimming line on a string trimmer multiple times a season as it wears out, so it’s almost inevitable it’ll need a fresh line before running for the first time each year. Even if you put a fresh line on it right before storing it for the winter, that material is likely brittle and won’t cut much before needing replacement.
Each model is slightly different, so follow the instructions provided by the manufacturer. In general, the process involves:
- Removing the inner reel from the outer spool by holding it while unscrewing a knob in the center of the trimmer head.
- Attaching a pre-wound inner reel or winding string manually around the inside of the reel. This is done by either looping the center of the line around a slot in the reel or feeding it through holes in the top and bottom of the reel.
- Replacing the reel and pulling the ends of the line through the openings on the head.
Change the Oil and Clean the Air Filter

2-cycle gasoline string trimmers and electric models don’t need oil changes. 4-cycle string trimmers do need fresh oil each spring before using it for the first time that year. Run the trimmer briefly to warm it up, using fresh gas. Set up the string trimmer on a workbench or prop up the engine so that the entire device is level from end to end. Remove any debris around the oil plug, then pull it out and drain the oil into a container. It may take half an hour or more for all of the oil to run out of the engine, so give it time. Start pouring in fresh oil to flush out the last remnants, then add the oil plug back in and fill it until the reservoir shows the correct fill amount. Finally, open the air filter case and wash the foam filter to ensure it’s ready for another season of use.
Check the Spark Plugs (and Replace Them If Necessary)

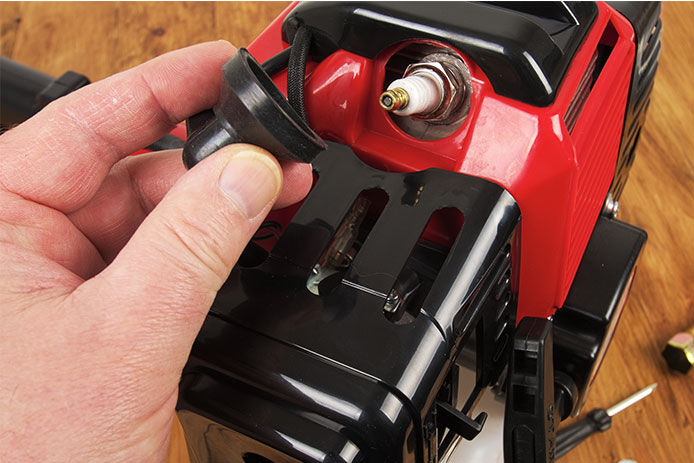
All gas-powered string trimmers eventually need a new spark plug to start up easily. Save your shoulder some work and check the spark plug each spring. Get a new one if it looks dark, burnt, or covered in powdery white residue.
The trimmer engine must be off and cold before removing the spark plug. Open the case on the trimmer and look for a rubber boot that covers the plug. Remove it and use a 5/8 socket to remove the spark plug itself. It’s the tip you primarily want to inspect, but damage or marks on the threads also indicate the need for replacement. The string trimmer manufacturer can supply you with replacement spark plugs with the correct gap for your device.
Clean the String Trimmer in General

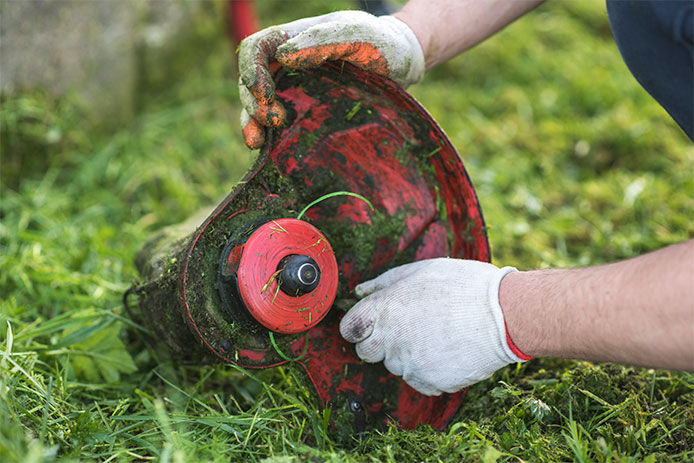
Electric string trimmers don’t need any of the above maintenance, but they do need general clean-up. Leaving dirt, grease, or chunks of cut grass on the trimmer will only lead to rust and other issues over time. Check over the battery or cord as well for signs of damage. Swelling, cracked, or discolored batteries should be replaced and discarded. If the cord on the string trimmer is cut or damaged, it’ll need repair from a professional small engine service before it is safe to use again.
String trimmers often perform just fine without maintenance for a few years at a time, but don’t let that cause you to fall into a false sense of security. You might end up with a trimmer that doesn’t start right when you need it the most. Taking care of this piece of lawn equipment on an annual basis is a much better way to ensure its reliability.